Last updated November 20, 2026
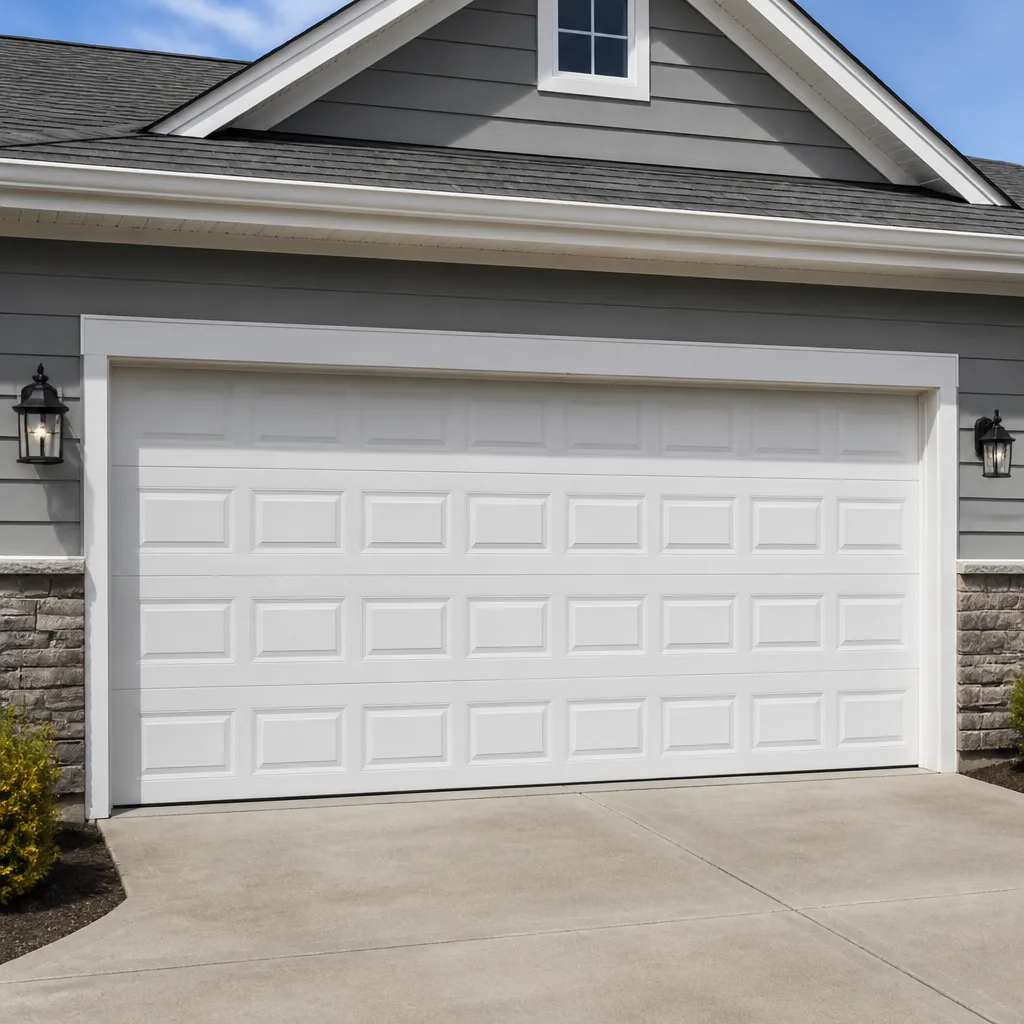 Raised-panel steel
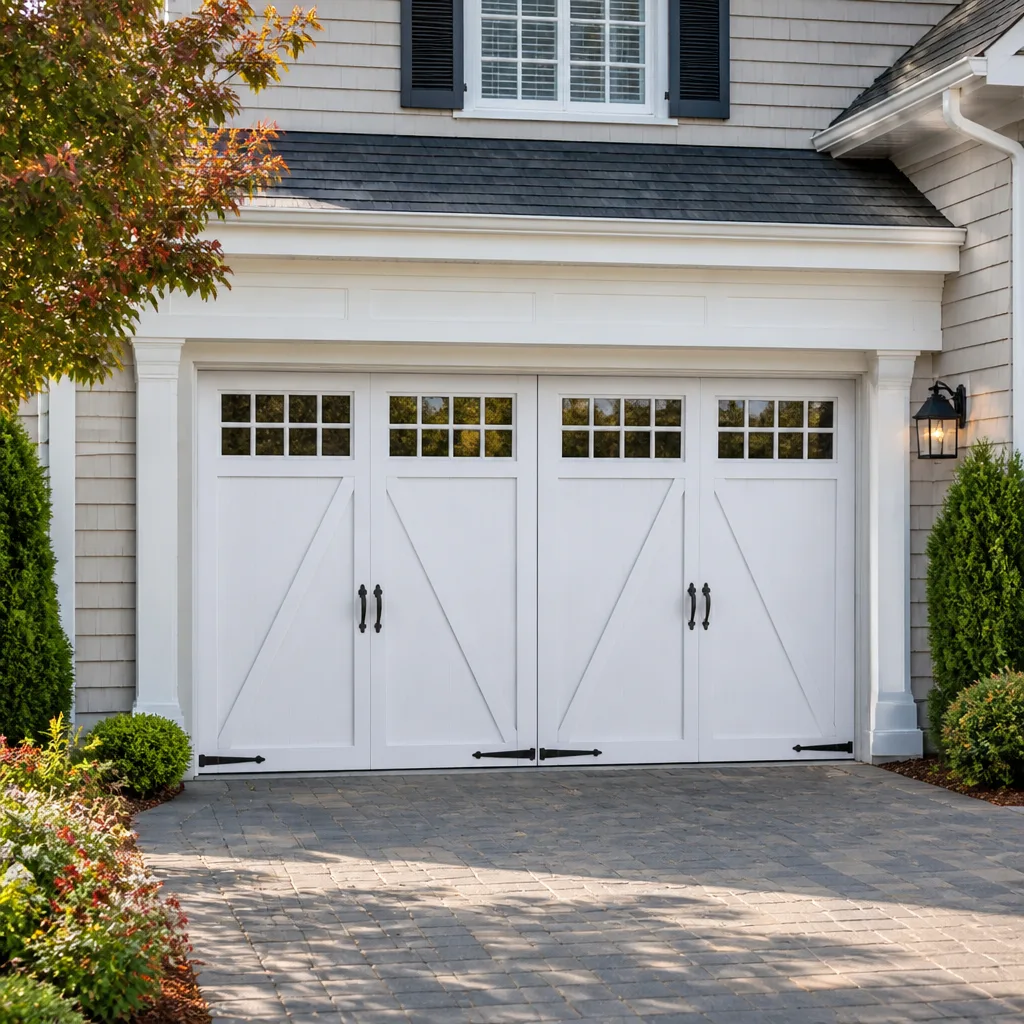 Carriage house
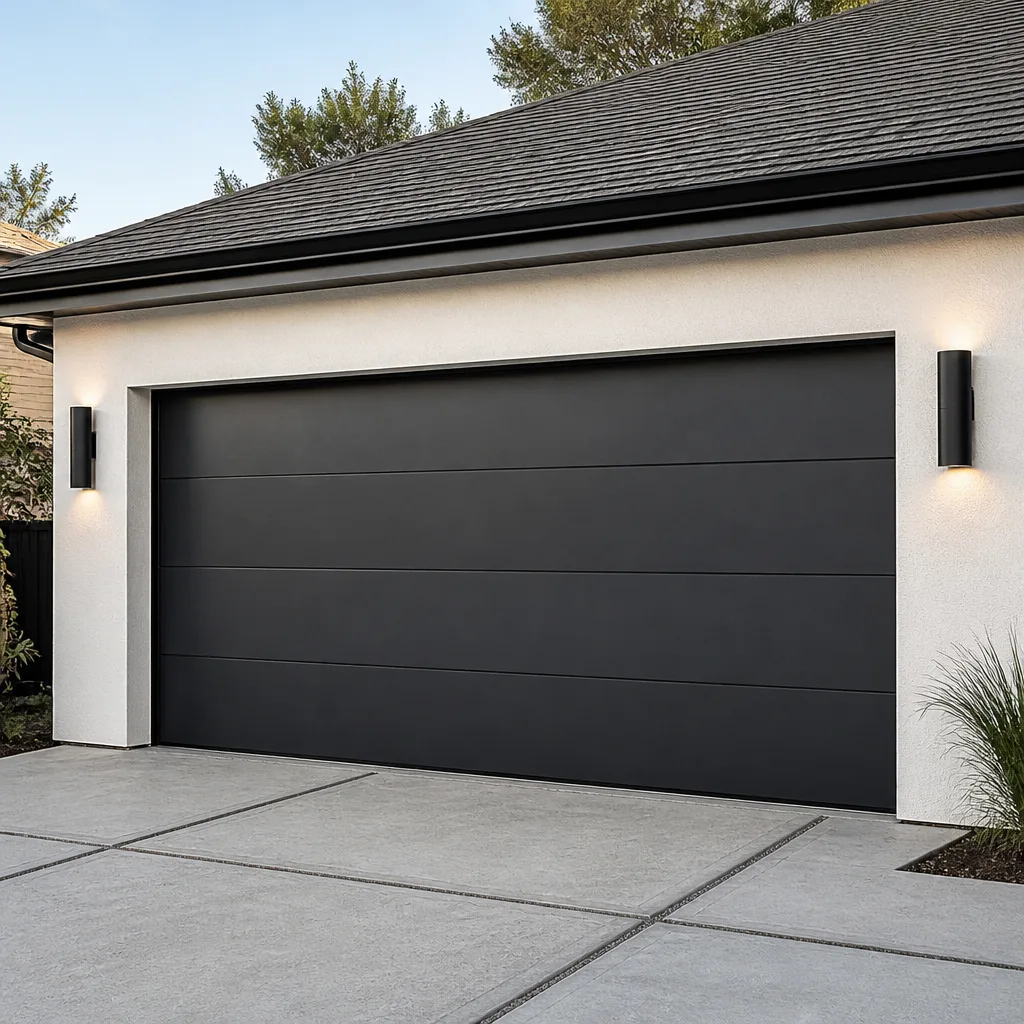 Modern flush
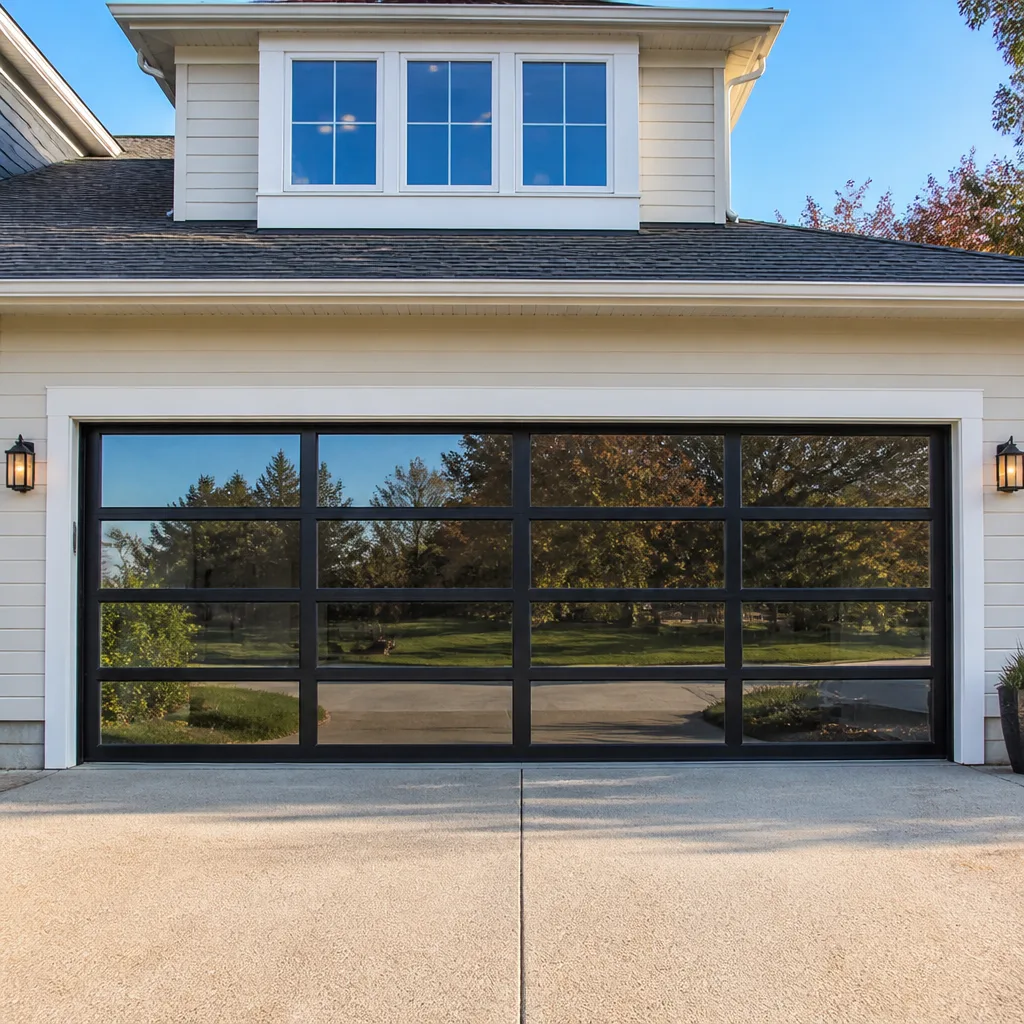 Full-view glass
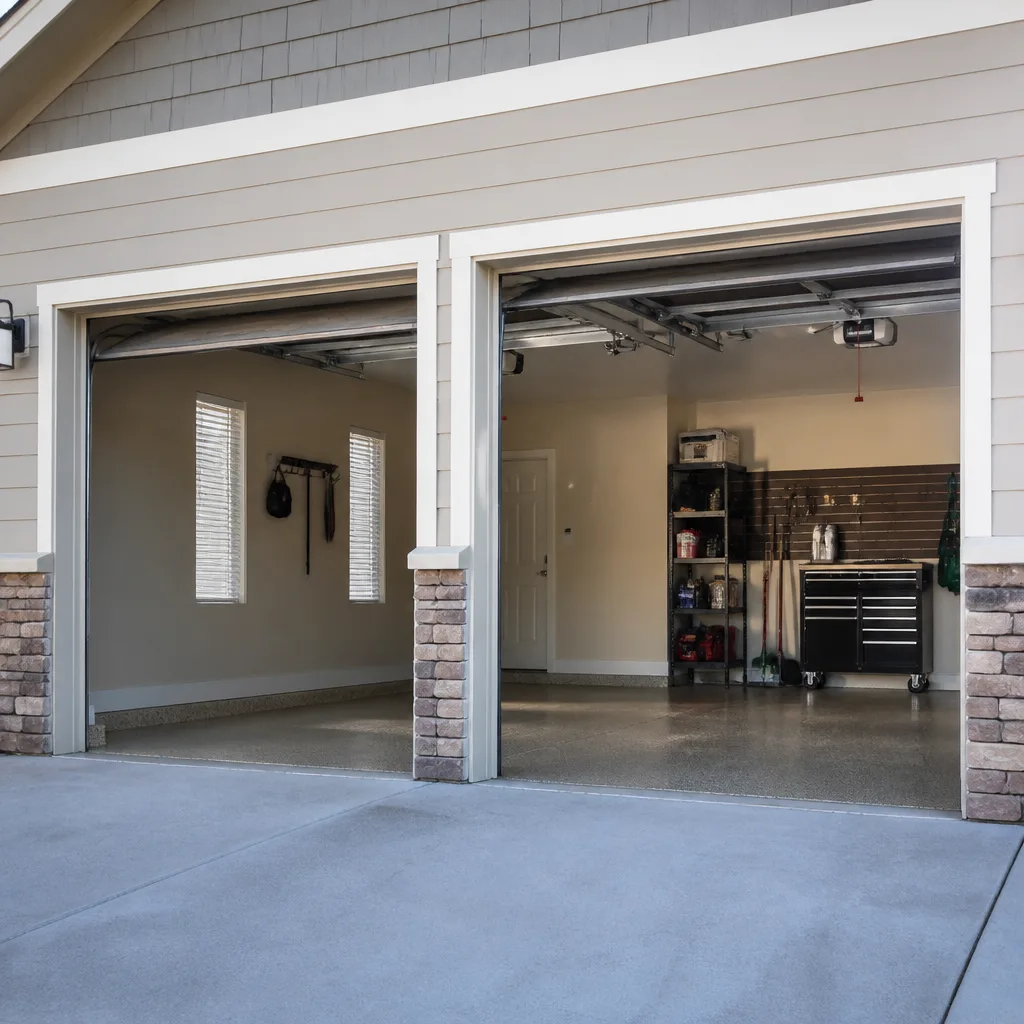 LiftMaster openers
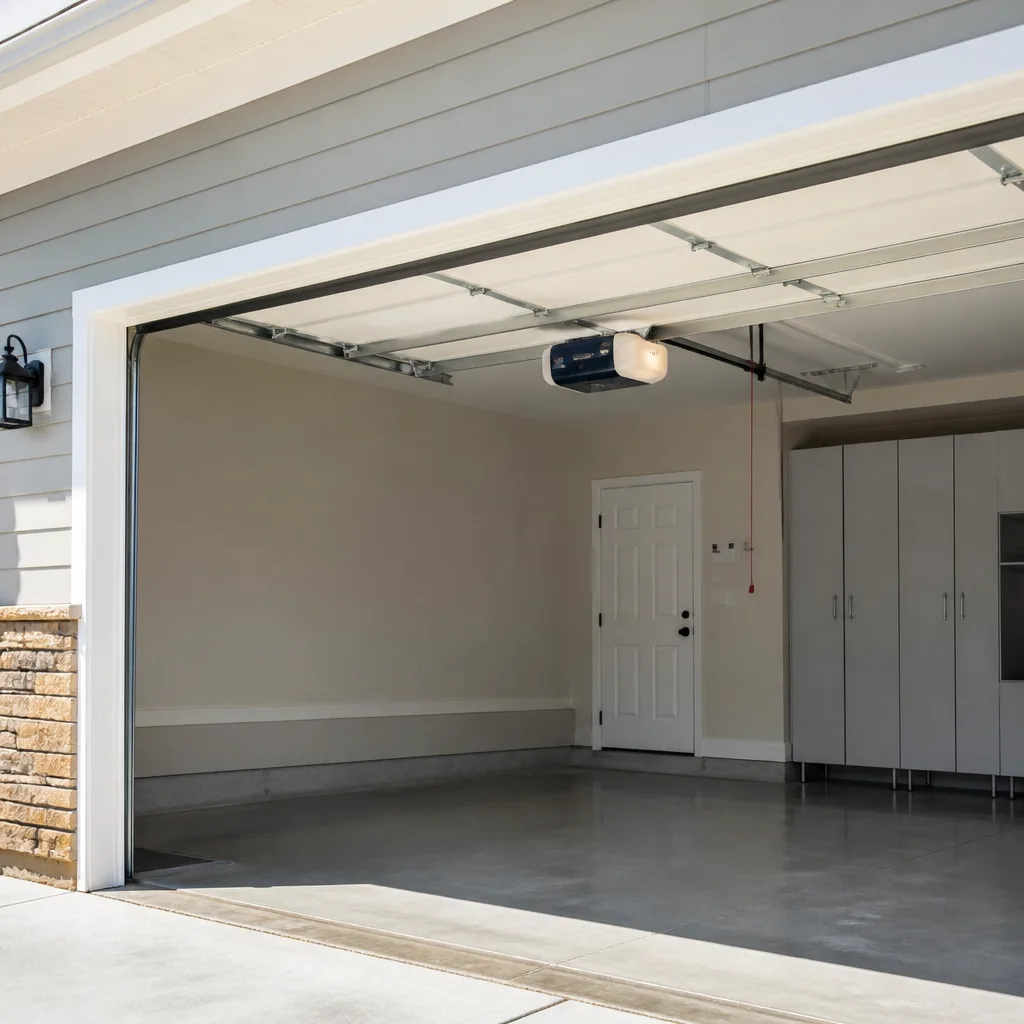 Chamberlain openers
Full 25-point door and opener safety check with every visit - springs, cables, rollers, tracks, and your LiftMaster or Chamberlain opener included
You get a price before we start. It does not change when the pro arrives.
Get your free estimateDIY vs Professional Garage Door: The Castleton Homeowner’s Decision Guide
Most advice about garage doors splits the world into “simple fixes” and “call a pro,” which is a useless line. The better question is which tasks have acceptable failure modes and which ones don’t. A door that closes crooked because you misjudged weatherstripping is an annoyance you can correct. A torsion spring that lets go while you’re winding it is a different category of event entirely, and it has nothing to do with how handy you are. In this guide we’ll break the work down task by task, explain the actual physics behind the spring risk, show you how to price the DIY route honestly, and point out the prep work that legitimately lowers a professional bill here in Castleton.
Quick Answer
For Castleton homeowners, the split is clear: weatherstripping, lubrication, sensor alignment, and visual inspections are reasonable DIY tasks, while torsion springs, cables, bottom brackets, and any work with the door under tension belong to a trained technician regardless of your skill level. The dividing line isn’t difficulty – it’s whether a mistake can injure someone or drop a several-hundred-pound door. Everything else, including opener electronics and new door installation, sits in between and depends on your comfort and the specific brand.
Styles & brands we work with
- Raised-panel steel
- Carriage house
- Modern flush
- Full-view glass
- LiftMaster openers
- Chamberlain openers
Table of Contents
- Which Garage Door Tasks Can You Safely Do Yourself?
- Why Torsion Springs Are Different: The Physics of “Going Wrong”
- Parts Availability: What You Can Source vs. What Needs a Contractor
- How to Calculate the True Cost of DIY
- The Middle Path: Prep Work That Lowers Your Bill
- Openers and Smart Controls: Where DIY Gets Murky
- Castleton-Specific Factors: Climate, Housing, and Code
- Common Mistakes to Avoid
- When to Call a Professional
Which Garage Door Tasks Can You Safely Do Yourself?
Start with a simple test: if the task requires the door to be under spring tension or to be moved off its track, stop. If it doesn’t, and you’re comfortable on a stepladder, most homeowners can handle it. The breakdown below reflects what we see across Castleton, where the housing mix runs from older single-car garages to newer two- and three-car builds, and the tasks homeowners attempt don’t really change between them.
Safe for a careful DIYer:
- Weatherstripping replacement. The rubber or vinyl seal along the bottom of the door wears flat and starts letting in drafts. It slides or nails into a channel and doesn’t involve the spring system at all.
- Lubrication. A quick pass on hinges, rollers, and the torsion bar bearings with a garage-door-specific lubricant quiets a noisy door and slows wear. Avoid heavy grease that attracts grit.
- Safety sensor alignment. If the door reverses immediately after closing, the photo-eye sensors near the floor are usually misaligned or blocked. Straightening them and wiping the lenses is a five-minute job.
- Visual inspection. Look for frayed cables, worn rollers, loose hinges, and gaps in the panels. You’re gathering information, not fixing anything.
- Track cleaning. Wiping down the tracks and checking for debris doesn’t require tools or tension work.
Requires a trained technician:
- Torsion spring replacement or adjustment. Covered in detail below.
- Cable replacement. Cables are under the same tension as the springs and a snapped cable whips with real force.
- Bottom bracket work. The bottom bracket holds the cable and is under load even when the door is down.
- Panel and section replacement. Panels are heavy, awkward to handle on a ladder, and the door has to be balanced afterward.
- Anything requiring the door to come off its tracks.
If you’re unsure where a task falls, the safest question is whether it touches the spring, the cable, or the brackets that anchor them. If yes, it’s a professional job. Our garage door repair work starts with that same assessment, and a technician can usually tell you in a few minutes whether your issue is a DIY candidate or not.
Why Torsion Springs Are Different: The Physics of “Going Wrong”
A wound torsion spring on a standard residential door stores roughly 100 foot-pounds of torque. That number isn’t a scare tactic – it’s the reason spring work is in a category of its own. Foot-pounds of torque means the spring is applying that much rotational force to the torsion bar at all times while the door is down, and it’s what counterbalances a door that typically weighs between 100 and 250 pounds. When you release that energy by accident, it releases all at once.
What “going wrong” actually looks like with a torsion spring:
- The winding bar slips. Winding requires steel bars inserted into the spring cone while you turn it. If a bar slips out of the cone under load, the spring unwinds instantly and the bar becomes a fast-moving projectile. This is the most common injury mechanism in spring work.
- The spring breaks while under tension. A fatigued spring can snap during adjustment. The stored energy discharges through the torsion bar in a fraction of a second, and anyone in the path of the winding bars is at risk.
- The door drops. If the spring lets go while the door is partially up, the door’s full weight comes down. Even a slow drop of a 150-pound door is enough to break bones.
Extension springs, used on some older doors, behave differently. They stretch along the sides of the door rather than winding around a bar, and they carry their own safety cables running through the center. When an extension spring fails, the cable is supposed to contain it. The risk profile is lower, but “lower” isn’t “safe” – a failed extension spring still releases significant energy and the door still drops. We’ve seen plenty of doors in Castleton with extension springs whose safety cables were missing or corroded through, which turns a contained failure into an uncontained one.
The practical takeaway: this is a mechanical problem, not a liability problem. The spring will do what physics dictates whether or not anyone warned you. That’s why spring repair is a named specialty for us and a job many general handymen won’t take on. Our technicians have up to 12 years of experience, and spring work is where that experience matters most.
Parts Availability: What You Can Source vs. What Needs a Contractor
You can buy a lot of garage door parts at a big-box store or online. What you can’t easily do is buy the right one for your specific door, in the right spec, without knowing what to look for. That gap is where most DIY parts attempts end up costing more than a professional call.
What’s realistically available to a homeowner:
- Weatherstripping and bottom seals in common widths
- Standard nylon or steel rollers in common stem sizes
- Hinges in standard gauges
- Photo-eye sensors and basic remotes
- Lubricant and general hardware
What’s harder to source correctly:
- Torsion springs. Springs are spec’d by wire gauge, inside diameter, and length. Get one dimension wrong and the door won’t balance, or the spring fails early.
- Cables. Length and diameter need to match the door’s height and weight rating.
- Opener logic boards and gear assemblies. Brand- and model-specific, and the wrong board may fit physically but not function.
- Panel sections. Color match, profile, and panel thickness vary by manufacturer and by year of production.
The pattern we see in Castleton is a homeowner who buys a “universal” spring online, installs it, and finds the door either won’t stay up or slams down because the spring isn’t the right spec for the door’s weight. That’s not a mistake you can usually fix by ordering a second spring – it’s a calibration problem. We keep genuine parts on hand for the brands we work with, which is the main reason we can avoid the back-order cycle that homeowner-sourced parts run into. Whether you’re after Clopay panels, LiftMaster logic boards, or a Genie gear kit, we’re set up to supply rather than route you back to a retail store. If you’re weighing a full replacement instead of a repair, our garage door installation work starts with the same parts-availability question.
How to Calculate the True Cost of DIY
The sticker price on a part is the smallest part of the DIY cost. The honest comparison is a math problem with more inputs than most homeowners count, and it’s the reason a task that looks like a $40 savings can turn into a net loss. Work through the list below before you decide.
1. Parts. Price the exact spec, not a universal. Add shipping if it’s not local.
2. Tools. Spring work needs winding bars and the right sized bar for your spring cone. Roller and hinge work needs a socket set and a ladder tall enough to reach the top of the door safely. Track whether you’ll use the tools again.
3. Your time. Spring replacement on a door you’ve never worked on typically runs several hours for a first attempt, plus the trip for parts and the inevitable second trip. Professional work is a single visit.
4. The cost of a mistake. This is the input most people skip. A mismeasured spring means buying another. A roller installed backward wears faster. A cable installed wrong can damage a panel. Each mistake adds parts and time to the DIY side of the ledger.
5. Warranty implications. If your door or opener is still under manufacturer warranty, a DIY repair that damages the unit can affect coverage. The same holds for a replacement part you sourced yourself – if it fails early, you’re on the hook for the labor to redo the job.
Put all five inputs against a written professional estimate and the DIY savings often shrink dramatically. In Castleton, the homeowner halfway through a spring job has usually spent a weekend, a return trip, and one wrong part – at which point the professional estimate is cheaper than the DIY path they already committed to. When you call us for a quote, the price is quoted and agreed before any work starts, so there’s no surprise on the invoice.
The Middle Path: Prep Work That Lowers Your Bill
There’s a real middle path between full DIY and handing the whole job to a technician, and most homeowners don’t use it. Some tasks make the professional visit faster and can reduce billable time on a repair call. None of them involve touching the spring, cable, or brackets.
Prep work that helps:
- Clear the garage floor and the driveway approach. A technician can’t safely work with boxes stacked under the door or a car parked where they need to test the door’s full travel.
- Note the symptoms precisely. “It makes a grinding noise when it’s about a third of the way up” tells the technician far more than “it’s acting weird.” Write the symptom and when it happens before the call.
- Have the opener model and door brand ready. If you know it’s a Chamberlain or a Raynor, say so. If not, a photo of the opener’s label and the door’s hardware helps.
- Check the door balance yourself. With the door closed and disconnected from the opener, lift it halfway and let go. If it stays, balance is fine. If it drops, the springs are the problem – useful info before you call.
- Lubricate if you haven’t in a while. A door that’s been serviced with the right lubricant is easier to diagnose than one whose problems are buried under dried grease.
None of these reduce the difficulty of the repair itself, and none let a homeowner avoid a professional call when the spring is the issue. What they do is shorten the visit and eliminate the diagnostic back-and-forth. On a repair call, that can translate into a few minutes saved, and on a larger job it can shift the estimate down. For a Castleton homeowner who’s calling about an garage door opener repair, having the opener’s model number and the symptom documented is the single most useful thing you can bring to the call.
Openers and Smart Controls: Where DIY Gets Murky
Opener repair sits between the two categories because the failure mode varies by component. A remote that needs reprogramming is a homeowner task. A logic board that’s failed on a LiftMaster or a Craftsman is a technician job, mostly because the correct replacement board is model-specific and getting the wrong one wastes the trip.
Common opener issues and where they land:
- Remote won’t work. Replacing the battery and reprogramming are homeowner tasks. If a fresh battery and a reprogramming attempt don’t fix it, the receiver is likely the issue – technician territory.
- Door reverses immediately after closing. Usually the safety sensors, covered above. Check them first before assuming the opener is failing.
- Motor runs, door doesn’t move. Often a stripped gear or a broken drive component. Gear kits are brand-specific and worth having a technician install.
- Smart control not responding. Chamberlain’s myQ and similar systems rely on Wi-Fi pairing and sometimes on a bridge device. Re-pairing is a homeowner task, but a control board that’s stopped responding is not.
- Opener is very old and noisy. Not necessarily broken, but if it’s on its last leg, replacing it before a failure can save the repair call later.
We work on both legacy openers and current smart-home systems, and the brand list matters because the diagnostic path differs by manufacturer. A Genie with a stripped gear and a Craftsman with the same symptom don’t come apart the same way. That’s the difference between a technician who shows up knowing your model and one who has to look it up in the driveway. For Castleton homeowners with a modern opener and a smart-home setup, we can often give a useful answer on the phone before you schedule a visit.
Castleton-Specific Factors: Climate, Housing, and Code
None of the physics above changes with geography, but the local context does affect which jobs come up and how often. A few things are worth knowing about how garage doors behave in and around Castleton.
Climate and seasonal wear. Castleton’s winter swings between freeze and thaw, which is hard on door seals and on the metal parts that don’t flex well in cold. Bottom seals crack more often here than in climates with more moderate winters, and roller bearings wear out faster because they’re cycling through temperature changes. Lubrication is a more important habit in Castleton than in warmer parts of the country, not a lesser one.
Housing mix. Castleton’s garage stock runs from older single-car doors, some still on extension springs, to newer two- and three-car builds with torsion setups and modern openers. That matters for DIY because the older doors are more likely to have missing safety cables, and the newer ones are more likely to have opener electronics the homeowner can’t easily diagnose.
Permits and code. Most cities require a permit for structural changes to a garage – adding an opening, altering the framing, or a full door replacement with a different size. Like-for-like replacement usually doesn’t require one, but the definition of “like-for-like” varies. Before any major door work, ask Castleton’s building department what applies to your job. We’re happy to talk through the permit picture, but the final word is your city’s.
What’s consistent across all of this is that the spring-and-cable line doesn’t move. Whatever type of door you have in Castleton, and whichever season you’re in, the tension work belongs to a trained technician. Everything else sits on the side of the line the homeowner can reasonably decide for themselves.
Common Mistakes to Avoid
- Buying a “universal” spring. Torsion springs are matched to your door’s weight and track geometry. A universal fit usually means a door that won’t balance, and a second spring purchase.
- Removing the safety cables on an extension-spring door. The cables exist to contain a spring failure. Never remove them “just for now” during any other repair – put the replacement cables back before you use the door.
- Assuming a noisy door is a broken door. Most noise is lubrication and worn rollers. A few minutes with the right lubricant beats a service call.
- Storing things against the tracks. Lean a ladder or a box against the tracks and you can bend them, which turns a simple alignment into a track repair. In Castleton’s narrower single-car garages this is a common cause of door problems.
- Working on the door with the opener still engaged. Before any work on the door itself, pull the release cord so the door can be moved by hand. This is the mistake most first-timers make.
- Ignoring a door that’s slow to close in cold weather. A slow door in winter is often a sign of weakening springs, not cold weather alone. Letting it go means the spring fails entirely rather than being replaced.
- Trying to adjust the opener’s force settings to compensate for a failing spring. If the opener needs more force to lift the door, the problem is the spring, not the opener. Cranking the force setting up strains the opener’s gear and motor.
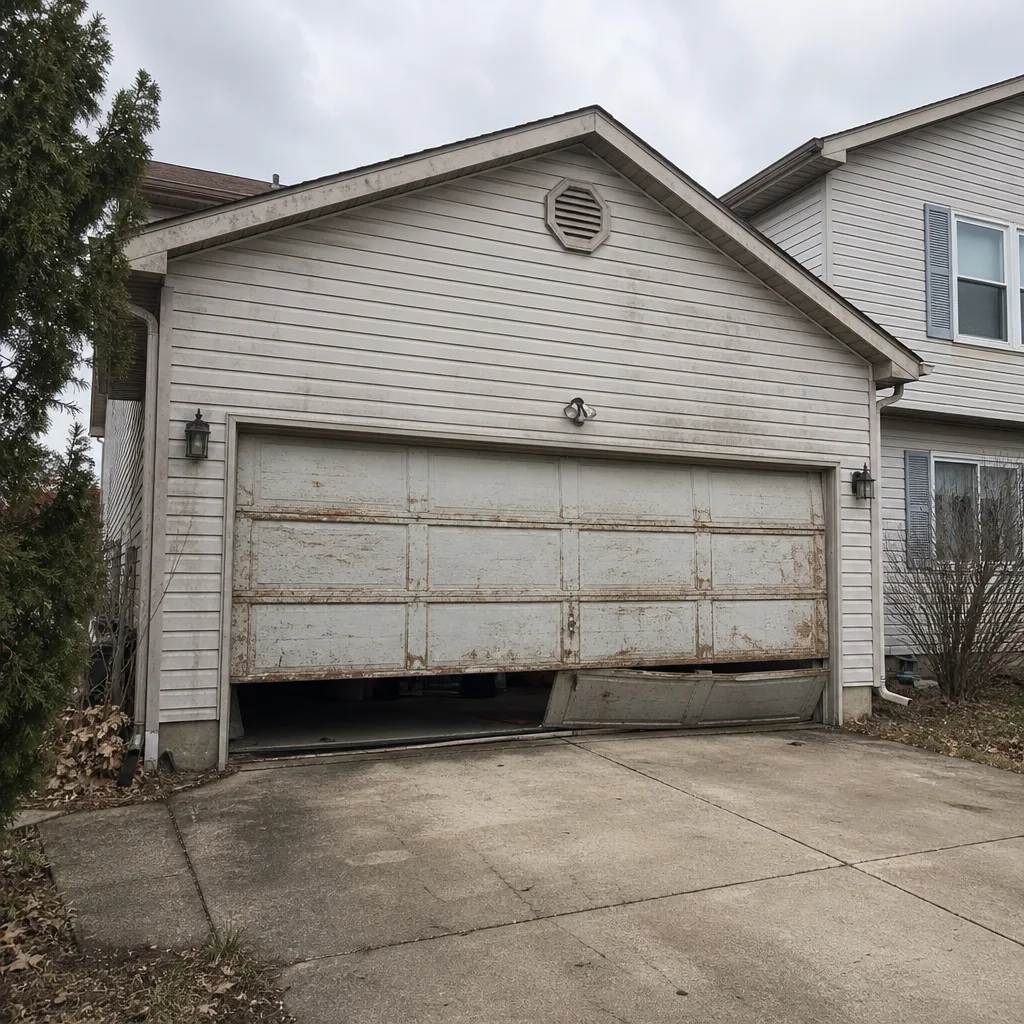
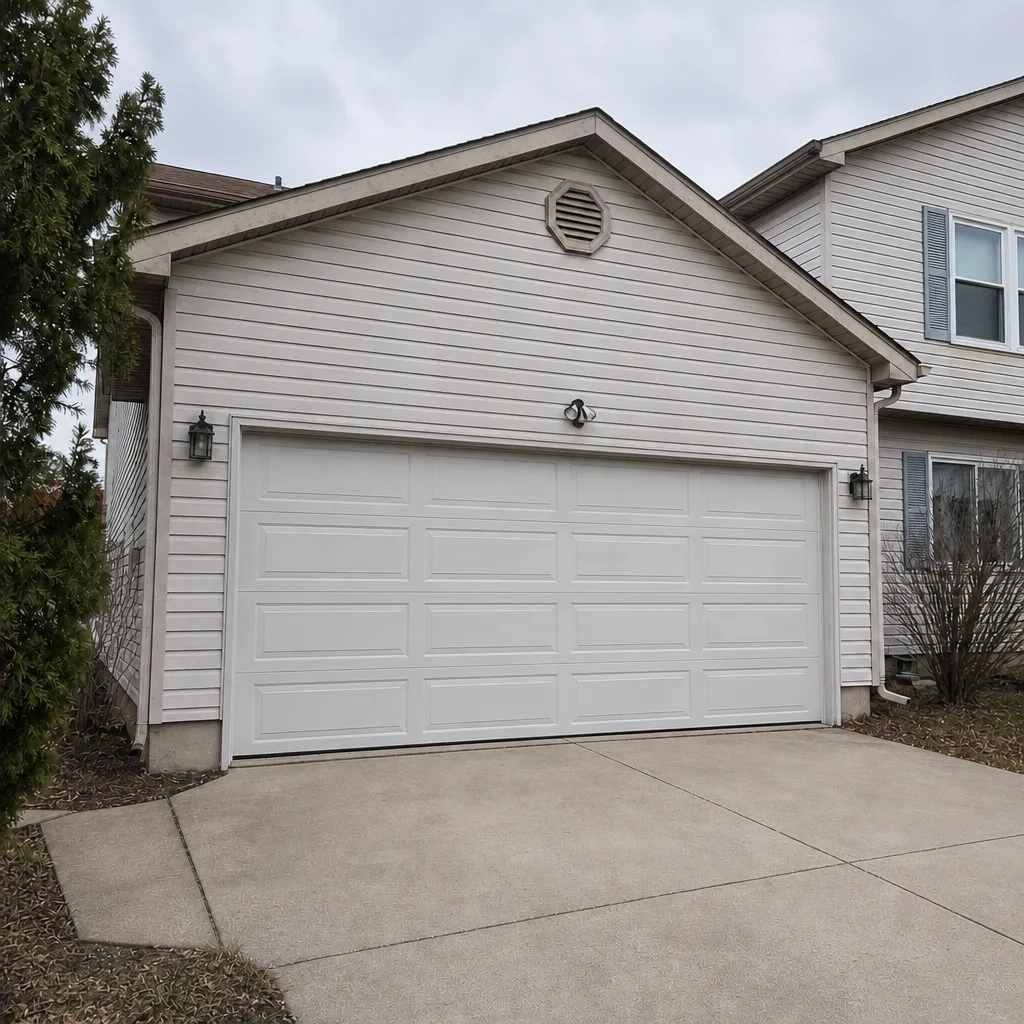
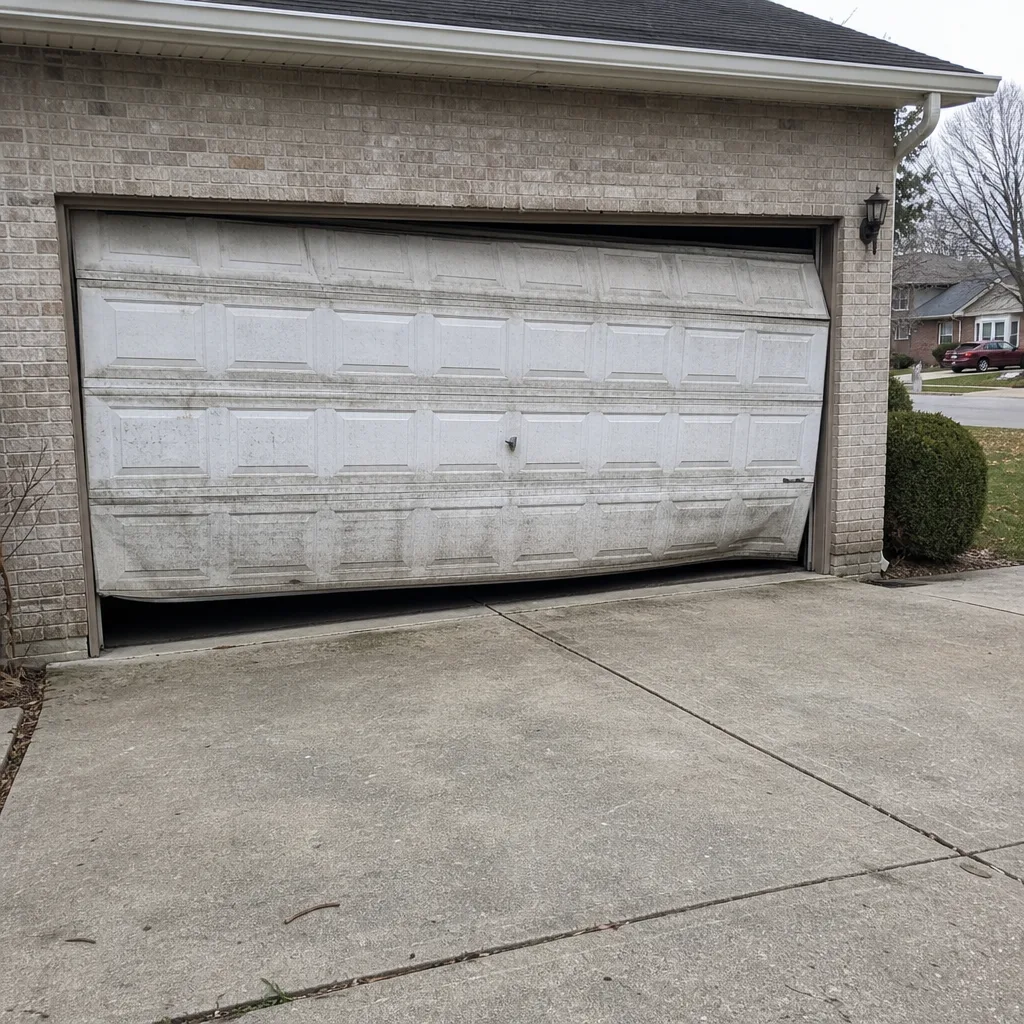
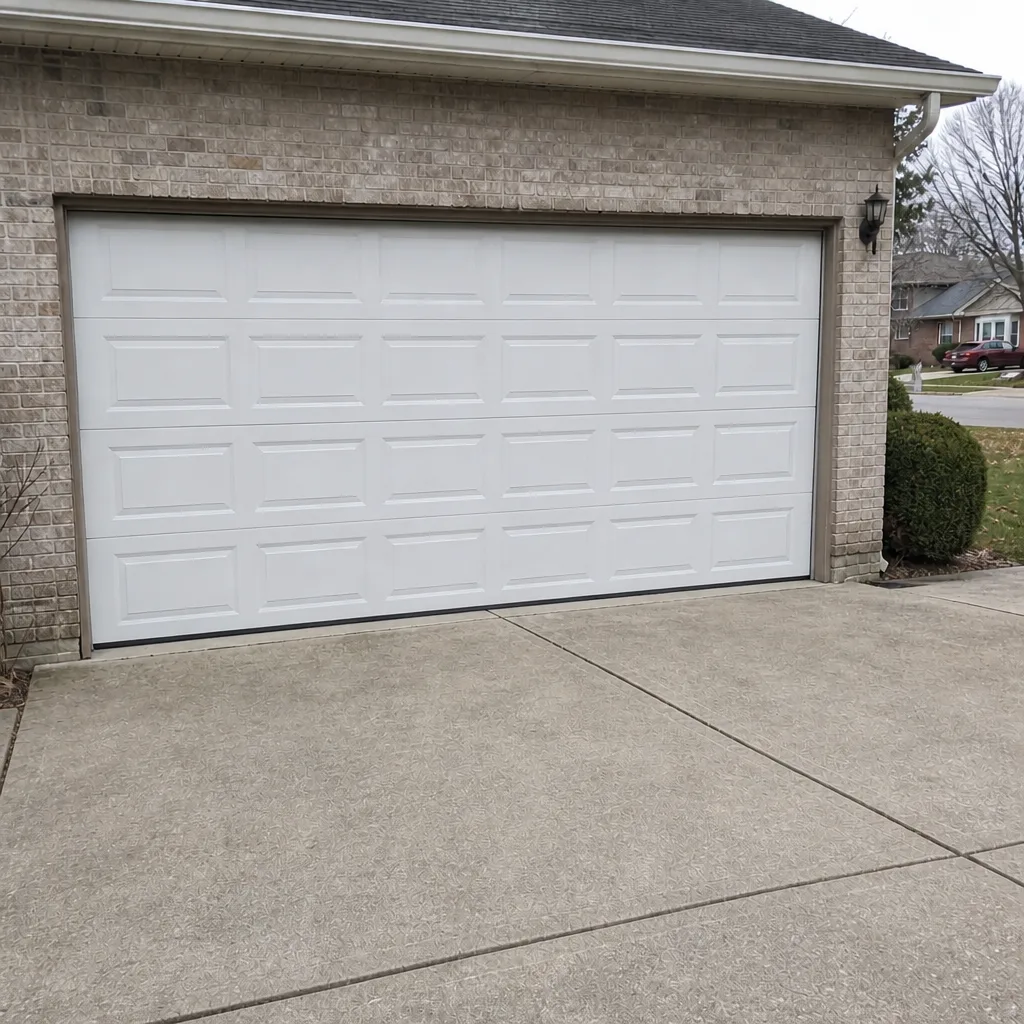
See the difference
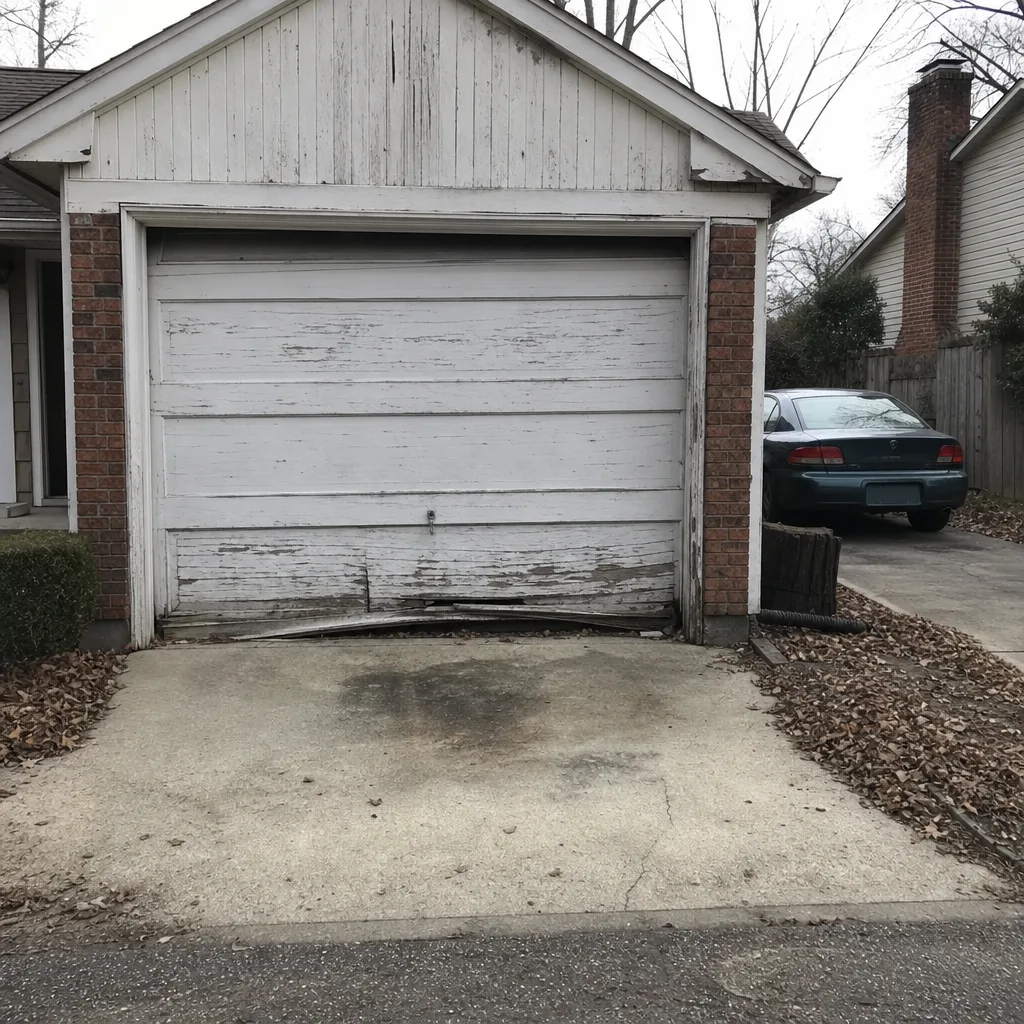 Before
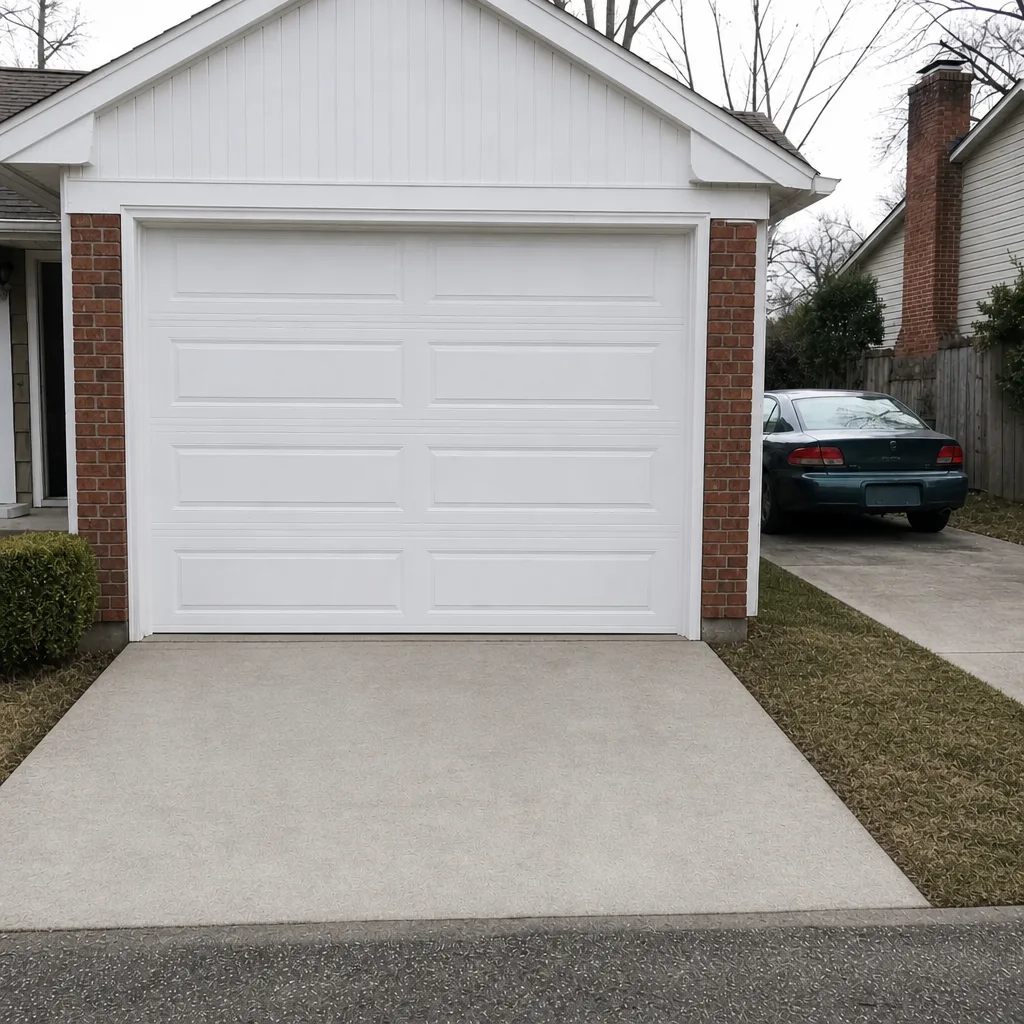 After
 Before
 After
 Before
 After
When to Call a Professional
Call a professional for any of these, without trying to diagnose further: the door is under spring tension and something is wrong with the spring, cable, or brackets; the door won’t stay up when you lift it by hand; a cable has snapped or is visibly frayed; the door has come off its tracks; a panel has been damaged by an impact and the door is no longer closing flush; or the opener runs but the door doesn’t move. The same applies if you simply don’t know what’s wrong and the symptom doesn’t align with the DIY list above – the diagnosis itself is worth a call. For Castleton homeowners, Garage Door Repair Castleton offers free estimates in Castleton – call (844) 924-2080. The price is quoted and agreed before any work starts, so you know what the job costs before anyone picks up a tool. Our Garage Door Repair Castleton team handles repair, spring work, opener work, and new installations, so if the assessment points to a replacement, the same team can look at it.
Frequently Asked Questions
In most cases, no. Torsion springs store roughly 100 foot-pounds of torque, and the winding process involves steel bars that can slip out of the spring cone under load. That slip is the most common injury mechanism in spring work, and it doesn’t depend on your skill – it’s a physics outcome. A trained technician uses the right bars and the right technique, which is why spring repair is a named specialty. Call (844) 924-2080 for an exact quote on a Castleton spring repair – estimates are free.
Weatherstripping, lubrication, safety sensor alignment, roller and hinge inspection, and track cleaning are all reasonable homeowner tasks. Anything involving the springs, cables, bottom brackets, or the door coming off its tracks is not. If a task requires the door to be under tension or moved off the track, stop and call a technician.
Spring repair in Castleton typically falls in the $180-$340 range for a single spring, and a matched pair is usually replaced together, so a pair runs about twice that. The range covers parts and labor; the exact price depends on the door’s size, weight, and spring spec. You’ll get a written estimate before any work starts, and that written quote sets the final price. Call (844) 924-2080 for an exact quote – estimates are free.
No. We quote and agree the price before any work starts, and the written estimate is what you pay. If the diagnosis on site turns up something the phone call couldn’t, we tell you before doing anything, and you decide whether to proceed. You won’t get a bill above the number you agreed to.
The local professionals we connect you with are licensed and insured as their state requires. Our technicians have up to 12 years of experience, including spring work, opener repair, and installation across the major brands. If you’d like to know about the specific technician assigned to your job, ask when you call.
Often, yes. Opener repair is our fastest response category, and we carry parts for the common brands – LiftMaster, Chamberlain, Genie, and Craftsman among them – so the trip doesn’t stall on ordering. Call early in the day for the best chance at a same-day visit. If it’s a replacement or a new install, that’s measured, ordered, and scheduled rather than same-day. Call (844) 924-2080 for a free estimate.
The Bottom Line
The DIY versus professional question for garage doors isn’t about skill. It’s about which tasks have failure modes you can live with and which ones don’t. Weatherstripping, lubrication, sensor checks, and prep work are genuinely doable, and doing them well can shorten a professional visit. Spring, cable, and bracket work carries stored energy that releases in an instant, and that’s a physics fact no amount of confidence changes. Price the DIY route honestly – parts, tools, time, and the cost of one mistake – and the professional estimate usually competes. When the job touches tension, call Garage Door Repair Castleton at (844) 924-2080 for a free estimate.
Written by the team at Garage Door Repair Castleton.